Let's walk through foodsaving.world together!
When you first arrive on foodsaving.world, you will be greeted by a calm landscape photography, overlaid with three heavy buttons: Blog, Login and Team. Hold on - before you press one of the buttons, take your time to first scroll down a bit…
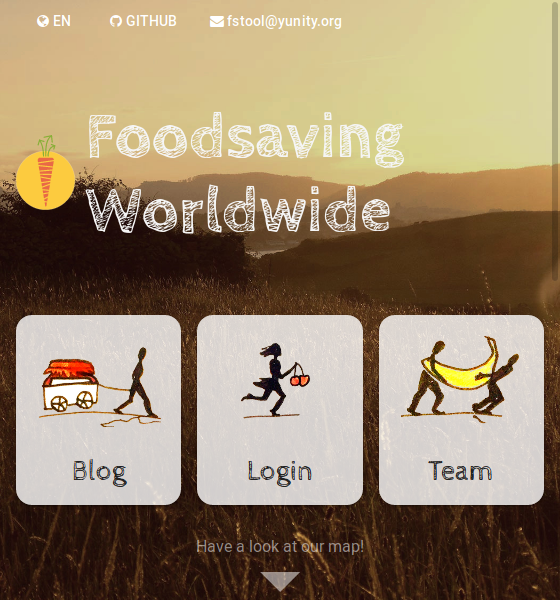
(This page uses the mobile view to make the screenshots smaller. It looks roughly similar on a Desktop computer, with elements rearranged.)
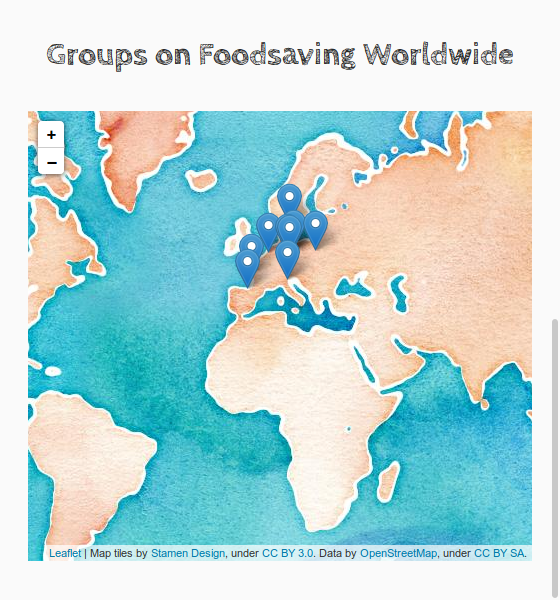
There’s a marker on the map for all the groups that already use foodsaving.world. Isn’t that nice!? Also thanks to the playful watercolor map!
Now go back up and click on Login. In case you already have username and password, feel free to enter them and skip the next step. (And do email us if you know something about foodsaving groups out there!)
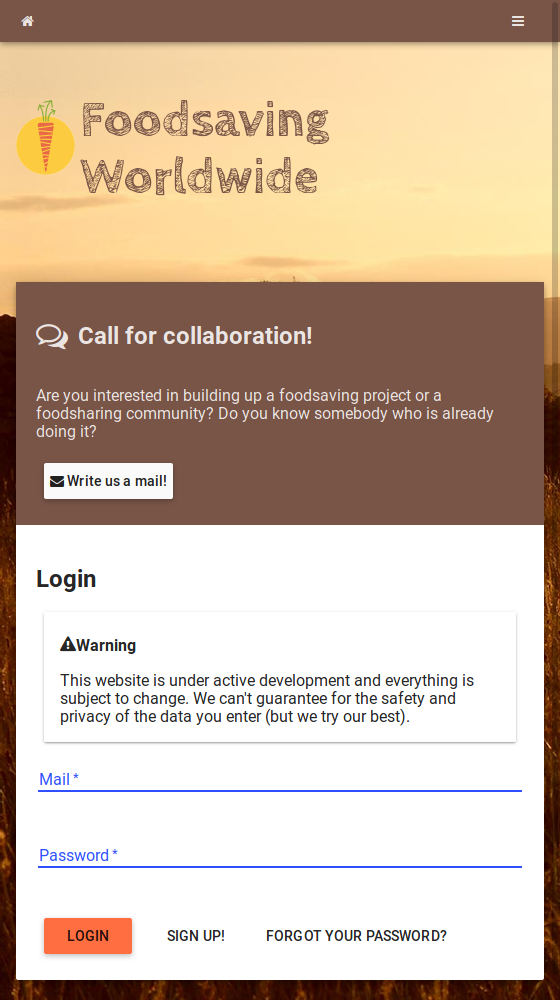
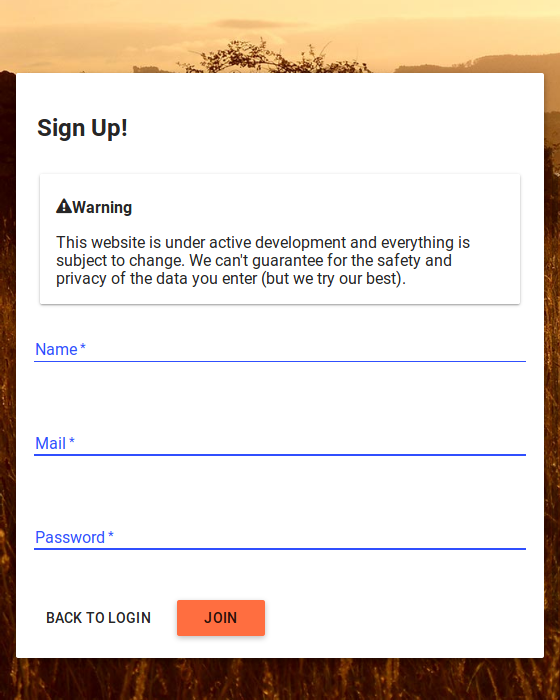
Otherwise, you take a little detour and click on the Signup button. Please enter your name (or how you are usually getting called), your e-mail address and choose a password of reasonable length. Then click on “Join” and jump into the foodsaving action!
Groups
It’s more fun to save food with your friends. Either you already know a group on foodsaving.world or you can click this secret link to create a new one!

The name and the location are most useful, but you can already take your time to fill out the text fields (description for the public and for members). It’s also recommended to set a password that people need enter before they can join the group. This way, you can build up a good group spirit via other social websites.
After you created the group, you will see this screen:
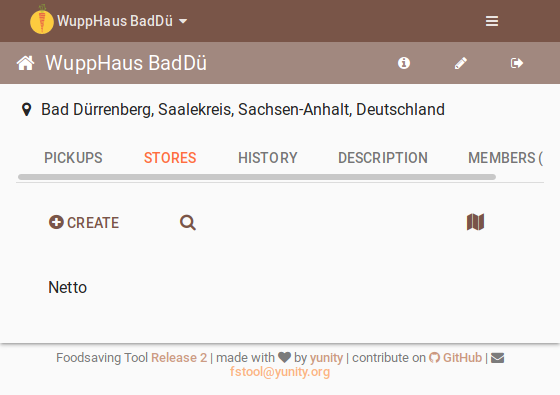
It’s pretty empty, but there’s one important button: “Create”. This will lead to the following screen, quite similar to the one before. Each time you discover a place with food leftovers, make sure to enter its location here, together with a short description (you can use Markdown to make it look nice - same as for the group, by the way).
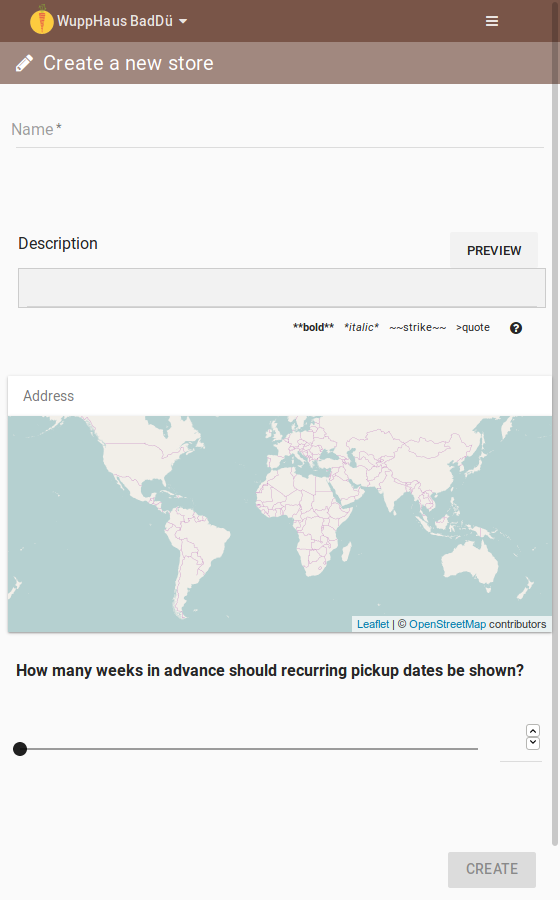
The slider is only important for the future. As soon as you have recurring (speak: weekly) food pickups, this setting controls how many weeks in advance people can register for the pickup dates. It’s recommended to leave it as it is, it can be adjusted later if needed.
Stores
In the store view, you can see a detail map of the store location and the times where food needs to be saved (called “pickup dates”).
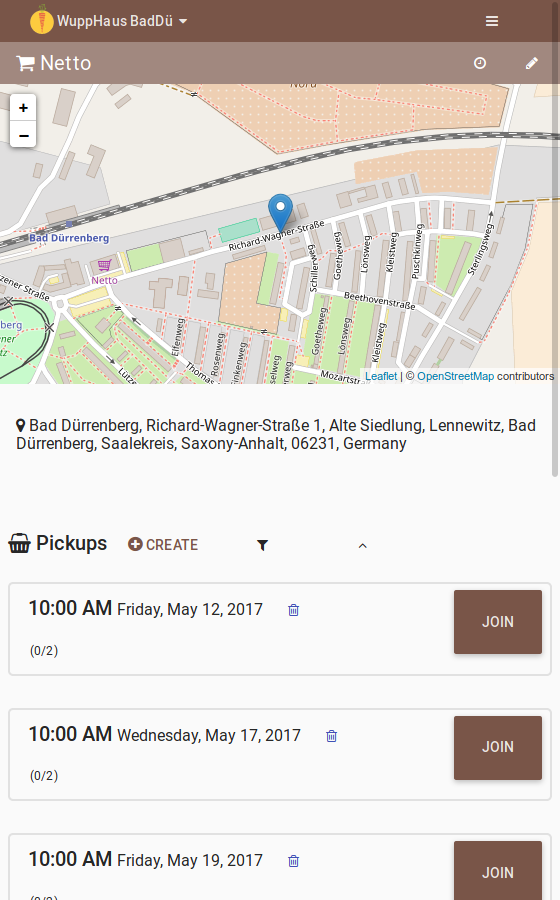
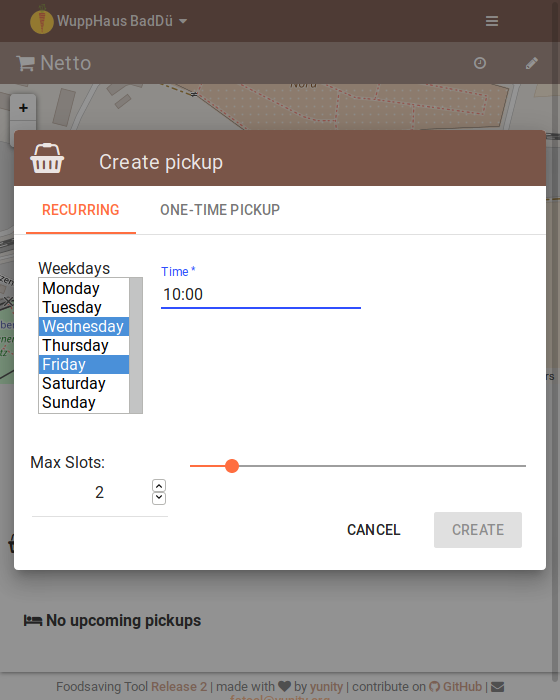
Clicking on “Create” here opens a dialog to add new pickup dates. You can choose between one-time and recurring ones.
For recurring dates, choose one or multiple days of the week, a time and the number of people who are needed to save the food. Selecting multiple days is possible by holding the “Ctrl” key on your keyboard.
Pickup Dates
If you look back on the store screen, there’s a small clock icon on the upper right. Click it to have fine-grained control over the pickup dates.
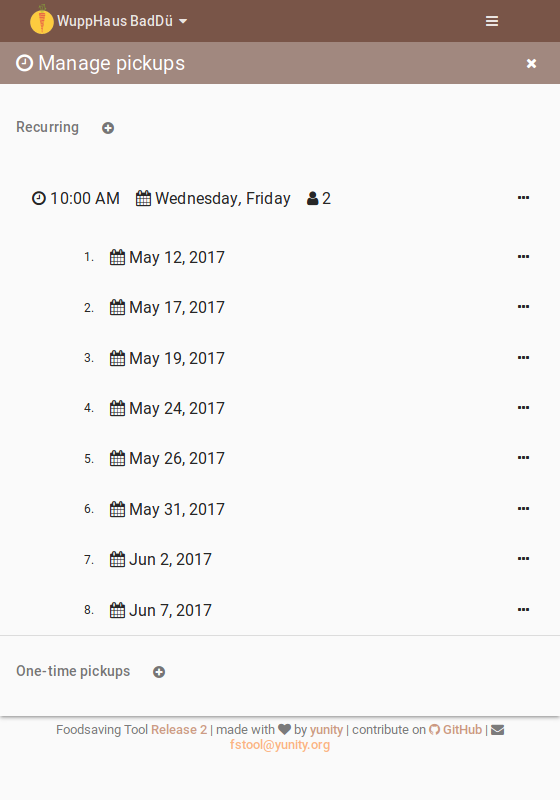
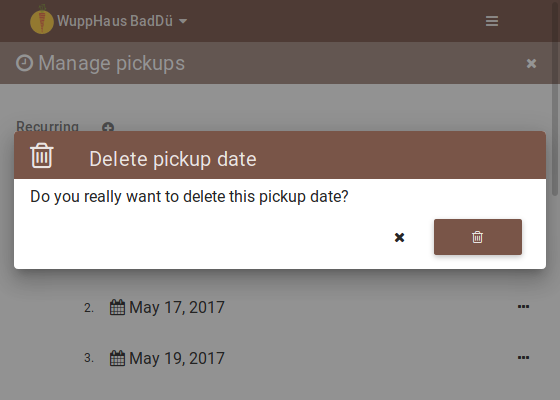
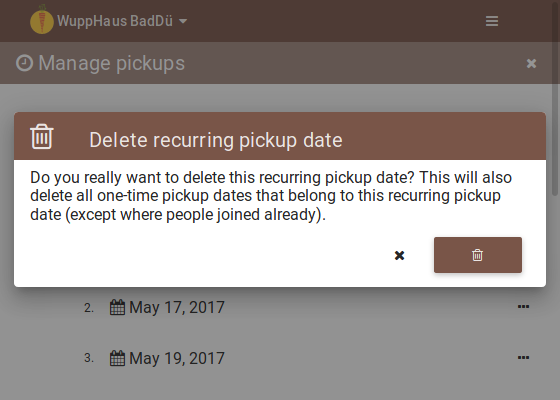
By clicking on the right-sided action button (the three dots), you can either edit or delete a pickup date. If you wonder where all the pickup dates come from - these are part of a series. Yes, you can also edit and delete pickup dates that belong to a series!
By now, you should have seen the most pages of foodsaving.world and can use it for management of your foodsaving group. There are two more screens that are worth showing, the History and the Members ones.
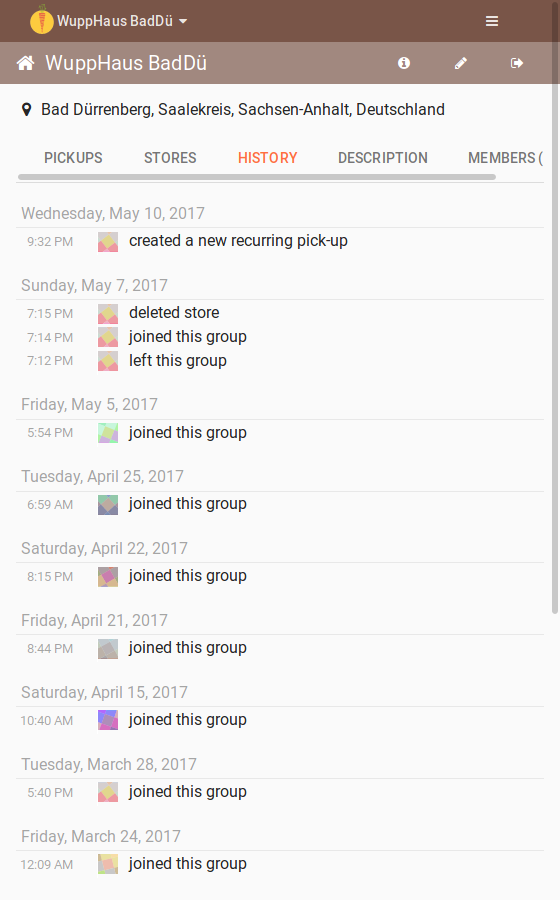
History
Here you can see the recent activity inside your group. All actions are displayed, so you can find out why something changed or went wrong. Study your own activity, it will give you valuable insight into your deeds (and if you delete useful pickup dates, more food will get wasted!!)
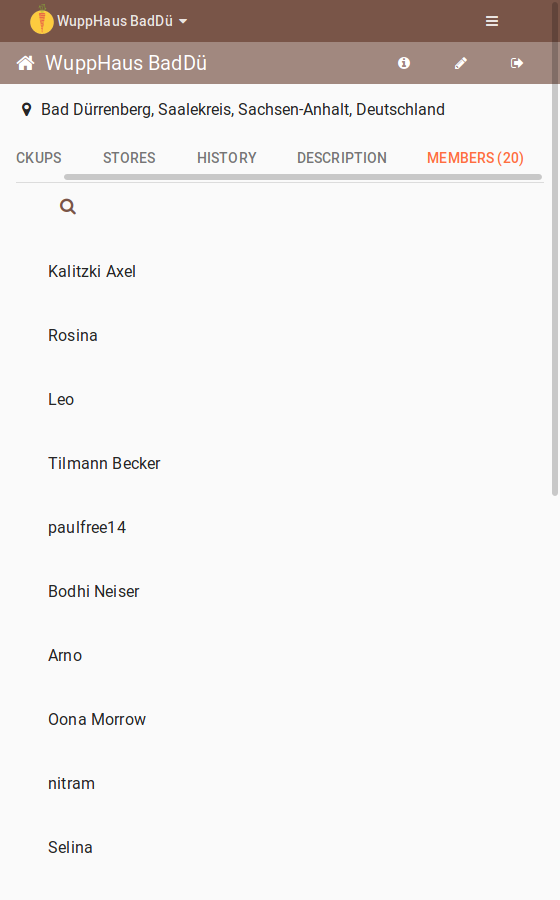
Members
All these people have joined your group and you are in it together. Be sure to treat each other nicely :)
Click on a name to visit the users’ profile page with contact details and a description.